You are now successfully upgraded to Pro Login to Access Pages. Keep scrolling to figure out how the app will help.
1. Enable App

In Enable App, select Yes to enable “Pro Login to Access Pages” functionality or No to disable it. Remember to Save your configuration.
If you want to uninstall and remove all data of this app, then select Restore all previous settings.
2. Understand the Force Login rule type
With the FREE Login to Access Pages version, you can only require visitors to log in to access some page types, which is still limited.
In the Pro Login to Access Pages version, we have already developed a Force Login rule type to help you manage the access to your website professionally.
Specifically, you can set specific product pages, collections, and pages under a login requirement. When visitors attempt to access those pages, they will be redirected to the login form or a custom message of the force login will be shown.
3. Create a Force Login rule
Under Rule Management, select “Create Rule.”

3.1. Rule Information
Under Rule information:

In Rule Name, enter a name to help manage the rule more easily.
In Status, select Yes to activate the rule. Otherwise, select No.
In Date, pick a time period in the calendar to apply the rule in the storefront.
In Rule Type, select Force Login.
In Priority, enter a number to classify the priority of the rule in case there are several rules applied to a product, collection, or page. 1 is the highest priority.
3.2. Rule Set Up
Under Rule Setup:
In Login Type, select either Show Login Form or Show Custom Content.
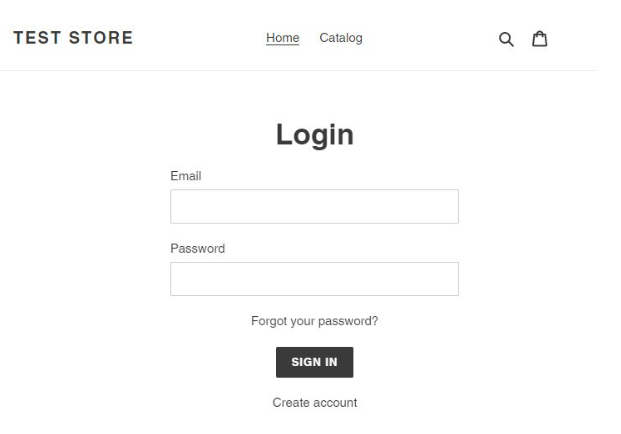
3.2.1. Show Login Form
 When you select this option, visitors who attempt to access the force-login page will be redirected to a login form.
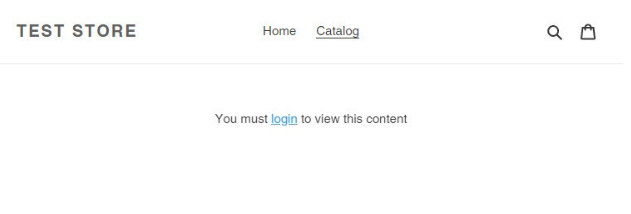
3.2.2. Show Custom Content

Otherwise, you can select Show Custom Content.
A field is shown to tailor any message to inform visitors of the login request.
For example:
3.2.3 Setup the redirect after login

In the admin, you need to set up where to redirect visitors after their successful login. Accordingly, in After login, redirect to, please choose either of the following options:
Previous Page: Visitors will be redirected to the previous page after logging in.
Custom Page: An additional field named Custom Page URL is shown. Then, insert a specific URL to which visitors are redirected after their login.
On completing all configurations, remember to Save.
3.3. Rule Applications
Under Apply to:

As can be seen, you can require visitors to log in to access specific product pages, collections, and other pages.
In Product, browser to select product(s).
In Collection, browser to select collection(s).
In Page, enter the URL of the page. For example, /collections/all
3.4. Rule Management

All created rules are recorded in a grid. Here you can check the information of the rule, as well as search/filter to find the rule.
Was this article helpful?
That’s Great!
Thank you for your feedback
Sorry! We couldn't be helpful
Thank you for your feedback
Feedback sent
We appreciate your effort and will try to fix the article